table of content
在電腦領域,術語 GPGPU 代表通用圖形處理器 (用到圖形處理器的通用計算)。 圖形處理器 (圖形處理單元 GPU) 最初是專為加速圖形處理任務而設計的,例如在視訊遊戲中繪製影像。 然而,隨著技術的進步,人們發現 GPU 擁有大量平行處理核心,非常適合用於其他類型的運算,而不僅限於圖形處理。
講白話文就是讓gpu做渲染以外的計算,至於為什麼用gpu而不用cpu可以參考我之前寫的文章
有了這門技術,我們就可以用它來處理複雜粒子特效的計算
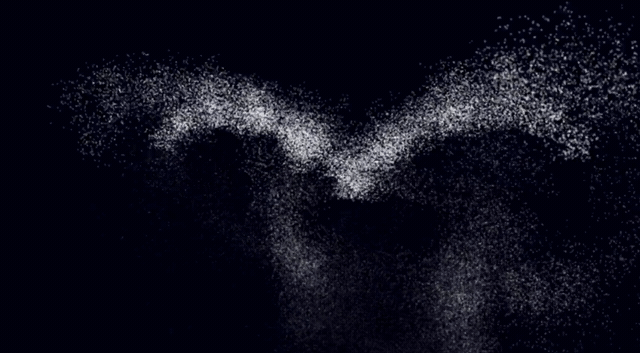
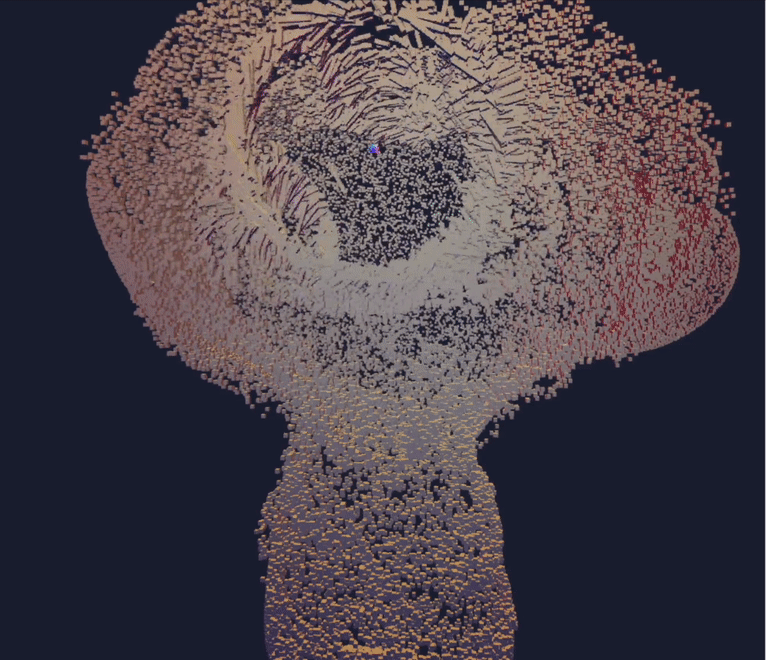
這個系列我會紀錄我在工作訪中的筆記,分享如何從零到一的打造自己的GPU particle system 以及每一次的實作成果,歡迎對粒子特效有興趣的朋友一起學習喔~
p.s. 這系列文章會需要要求你有基本的知識背景包括以下
使用vite初始化專案
bun create vite <app-name>
加入container到你的html
<body>
  <div id="container"></div>
</body>
為你的container加入一點style好讓他可以佔全視窗
#container{
  width: 100%;
  height: 100vh;
  background: black;
  margin: 0;
  padding: 0;
}
既然我們要使用threejs那當然要安裝他
bun i three
//edit in main.js
import * as THREE from 'three'
export default class Sketch{
  construtor({dom}){

  }
}
new Sketch({
 dom: document.queryElementById("container")
})
constructor({dom}){
    ...
    this.container = dom;
    this.scene = new THREE.Scene();
     this.width = this.container.offsetWidth;
     this.height = this.container.offsetHeight;
    ...
  }
this.renderer = new THREE.WebGLRenderer( { antialias: true, alpha: true } );
  this.renderer.setSize( this.width, this.height );
  this.container.appendChild(this.renderer.domElement);
import {OrbitControls} from 'three/examples/jsm/controls/OrbitControls.js'

//in constructor
this.camera = new THREE.PerspectiveCamera( 70, width/height, 0.01, 10 );
camera.position.z = 1;
this.controls = new OrbitControls( this.camera, this.renderer.domElement );
resize(){
  this.width = this.container.offsetWidth;
   this.height = this.container.offsetHeight;
     renderer.setSize( this.width, this.height );
  this.camera.aspect = this.width / this.height;
  this.camera.updateProjectMatrix();
}
class Sketch{
...
constructor({dom}){
...
this.renderer.setAnimationLoop( this.render );
...
}
render(){
  ...
  renderer.render( this.scene, this.camera );
}
}
在threejs 中如果想要渲染一個3d物件需要經果以下的流程
addObjects(){
//創建一個1:1 50 * 50的平面幾何體
this.geometry = new THREE.PlaneGeometry(1,1,50,50);
}
安裝以下套件讓你接下來可以無痛匯入shader
bun i vite-plugin-glsl --save-dev
新增vite plugin到vite.config.js(如果根目錄沒有需要手動創建)
import glsl from 'vite-plugin-glsl';
import { defineConfig } from 'vite';
export default defineConfig({
    plugins: [glsl()]
  });
如果你用vs code 建議可以安裝這個plugin 可以讓你的shader code看起來更好看喔~
vertex shader (./src/shader/vertex.glsl)
varying vec2 vUv;

void main() {

    vUv = uv;

    gl_PointSize =  10.0;

    gl_Position = projectionMatrix * mvPosition;

}
fragment shader (./src/shader/fragment.glsl)
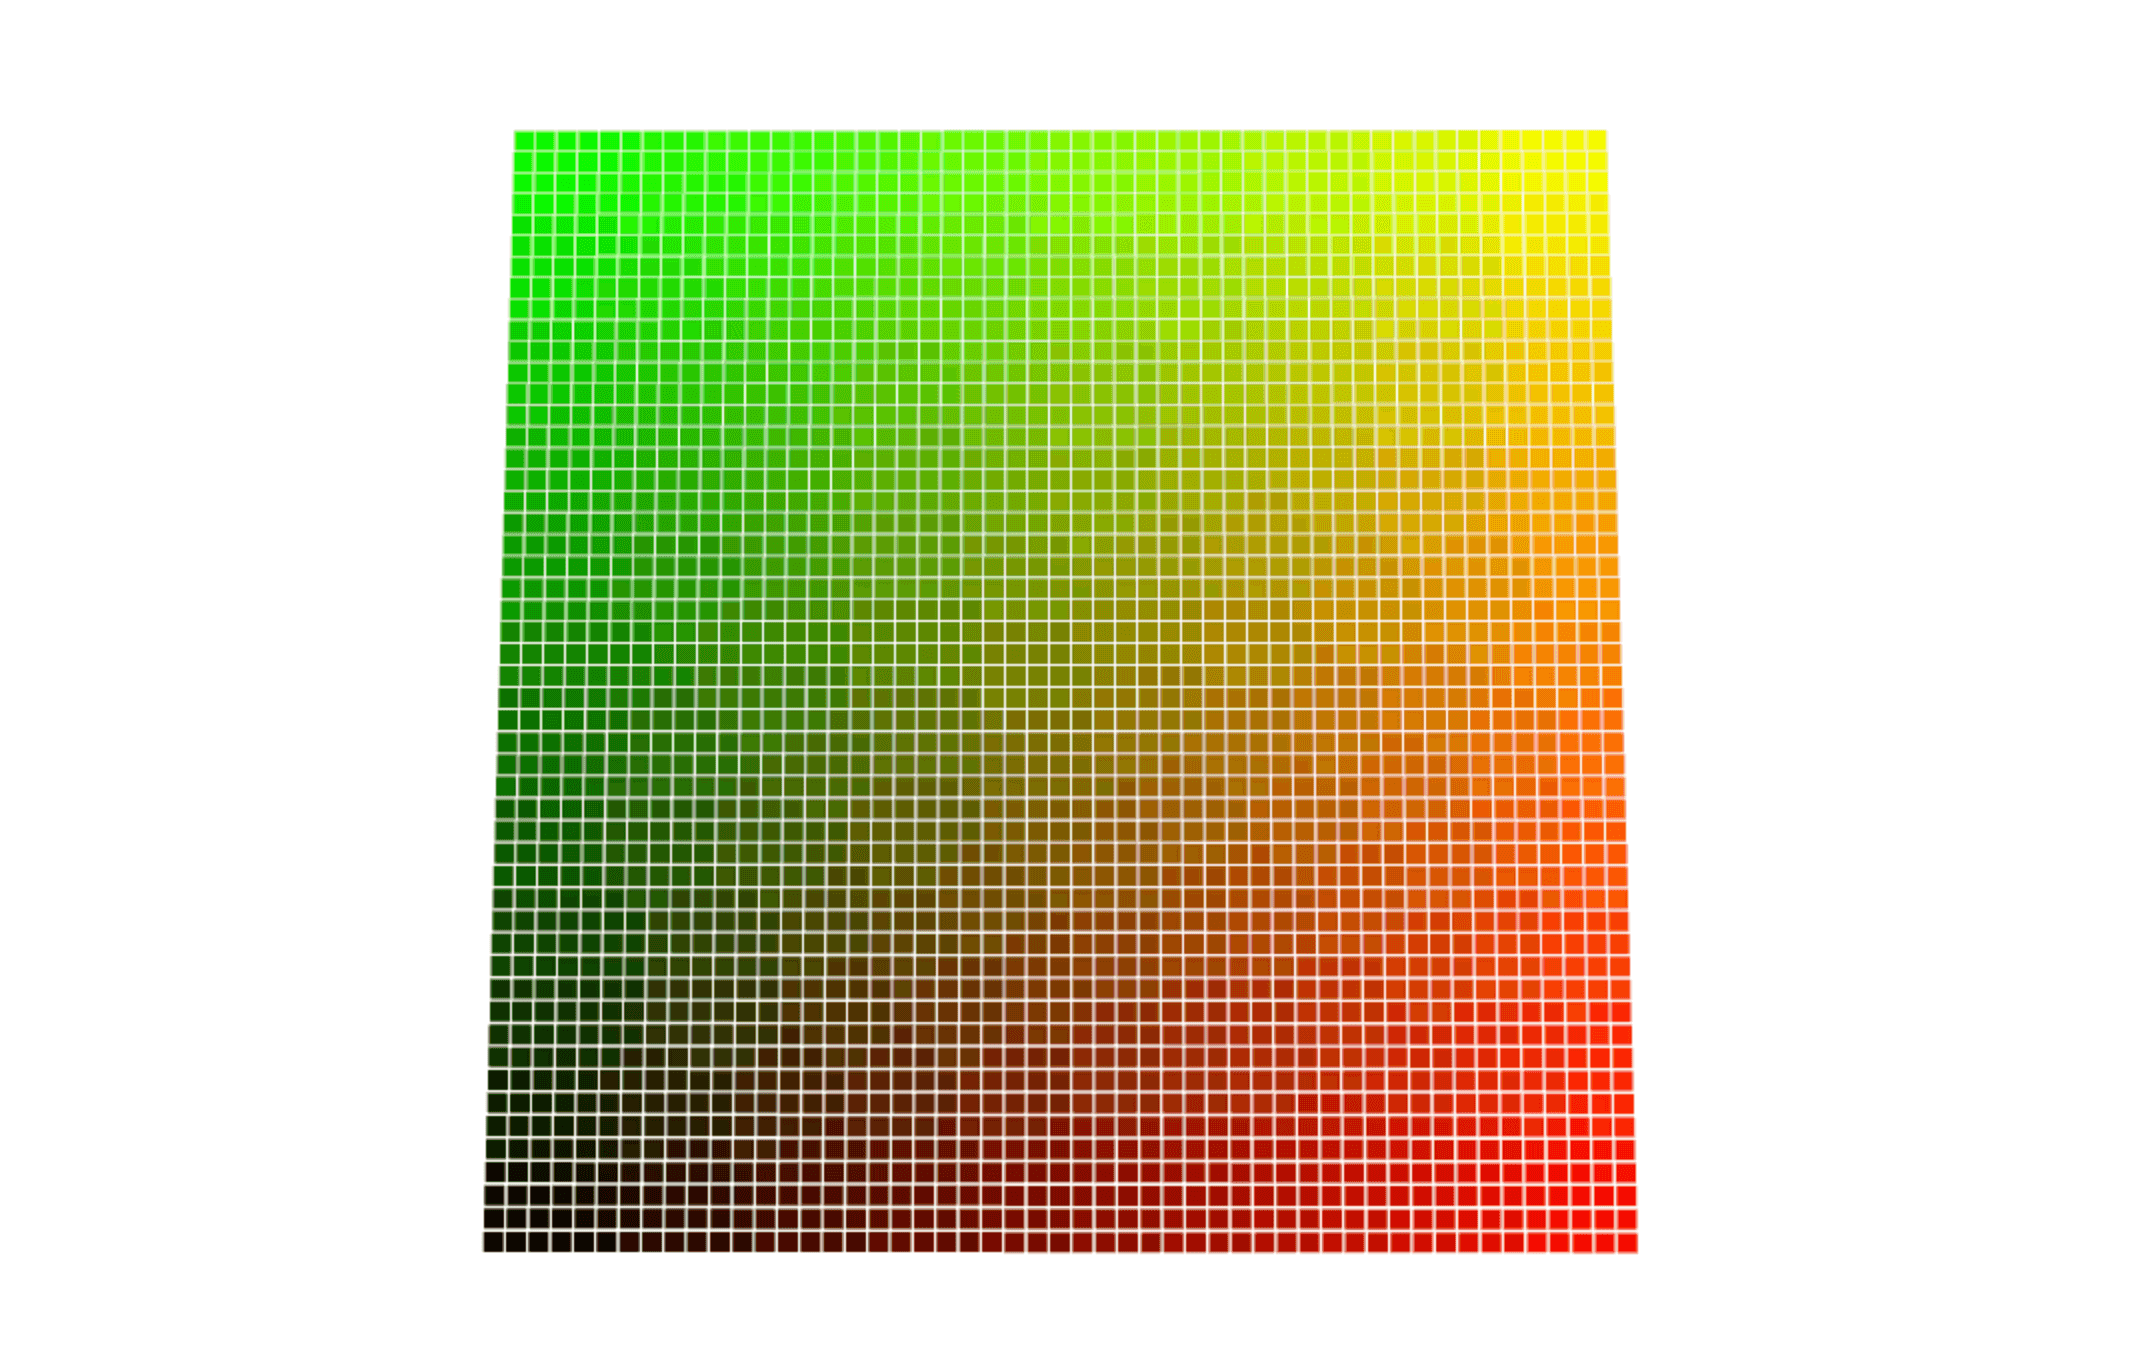
varying vec2 vUv;

void main() {
    gl_FragColor = vec4( vUv,0., 1.0 );
}
add shader to your main.js
import vertexShader from './shaders/vertex.glsl';
import fragmentShader from './shaders/fragment.glsl';
addObjects(){
...
//創建shader material
this.material = new THREE.ShaderMaterial({
            vertexShader: vertexShader,
            fragmentShader: fragmentShader,
        })
       }
this.mesh = new THRE.Points(this.geometry, this.material);
this.scene.add(this.mesh)
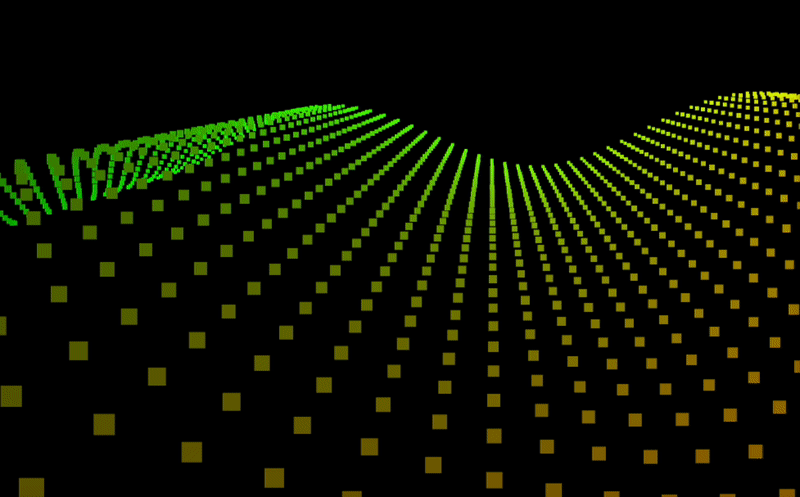
如果想要讓頂點按照sin上下擺動該如何做呢?
step 1 新增一個time的變數從,並透過uniform宣告到shader
//add object function
this.time = 0;
this.material = new THREE.ShaderMaterial({
            uniforms: {
                time: {value: this.time}
            },
            vertexShader: vertexShader,
            fragmentShader: fragmentShader,
        })
       }
step 2 每禎更新時間參數,並把該時間參數傳遞到shader中
this.time += 0.05;
this.material.uniforms.time.value = this.time;
step 3 更新vertex shader
varying vec2 vUv;
uniform float time;

void main() {

    vUv = uv;
    vec3 newpos = position;
    //這行是將時間參數傳進sin函數裡,目的是為了在不同時間點得到不同的高度
    newpos.z += sin( time + position.x*10. ) * 0.5;

    vec4 mvPosition = modelViewMatrix * vec4( newpos, 1.0 );

    gl_PointSize =  ( 10.0 / -mvPosition.z );

    gl_Position = projectionMatrix * mvPosition;

}
step 4 完成~