Three.js Particle Notes 01: Project Template Setup: This note is the first step in building a GPGPU particle system with Three.js. Before writing shaders or simulation logic, the project needs a stable template.
This note is the first step in building a GPGPU particle system with Three.js. Before writing shaders or simulation logic, the project needs a stable template.
A good template should handle scene initialization, renderer setup, camera controls, resize behavior, shader loading, debugging helpers, and a clean place to organize simulation code.
The reason this matters is that particle systems become difficult to debug quickly. If the base project is unstable, it becomes hard to know whether a problem comes from WebGL setup, shader code, data textures, or geometry buffers.
For GPGPU workflows, the template also needs to prepare render targets and data textures. These are the bridge between GPU computation and visible particles.
This draft is suitable for publication after confirming that the preserved code snippets still match the current project structure.
The following source media, links, code, and MDX components are kept as technical references.
bun create vite <app-name>
<body>
  <div id="container"></div>
</body>
#container{
  width: 100%;
  height: 100vh;
  background: black;
  margin: 0;
  padding: 0;
}
bun i three
//edit in main.js
import * as THREE from 'three'
export default class Sketch{
  construtor({dom}){

  }
}
new Sketch({
 dom: document.queryElementById("container")
})
constructor({dom}){
    ...
    this.container = dom;
    this.scene = new THREE.Scene();
     this.width = this.container.offsetWidth;
     this.height = this.container.offsetHeight;
    ...
  }
this.renderer = new THREE.WebGLRenderer( { antialias: true, alpha: true } );
  this.renderer.setSize( this.width, this.height );
  this.container.appendChild(this.renderer.domElement);
import {OrbitControls} from 'three/examples/jsm/controls/OrbitControls.js'

//in constructor
this.camera = new THREE.PerspectiveCamera( 70, width/height, 0.01, 10 );
camera.position.z = 1;
this.controls = new OrbitControls( this.camera, this.renderer.domElement );
resize(){
  this.width = this.container.offsetWidth;
   this.height = this.container.offsetHeight;
     renderer.setSize( this.width, this.height );
  this.camera.aspect = this.width / this.height;
  this.camera.updateProjectMatrix();
}
class Sketch{
...
constructor({dom}){
...
this.renderer.setAnimationLoop( this.render );
...
}
render(){
  ...
  renderer.render( this.scene, this.camera );
}
}
addObjects(){
//創建一個1:1 50 * 50的平面幾何體
this.geometry = new THREE.PlaneGeometry(1,1,50,50);
}
bun i vite-plugin-glsl --save-dev
import glsl from 'vite-plugin-glsl';
import { defineConfig } from 'vite';
export default defineConfig({
    plugins: [glsl()]
  });
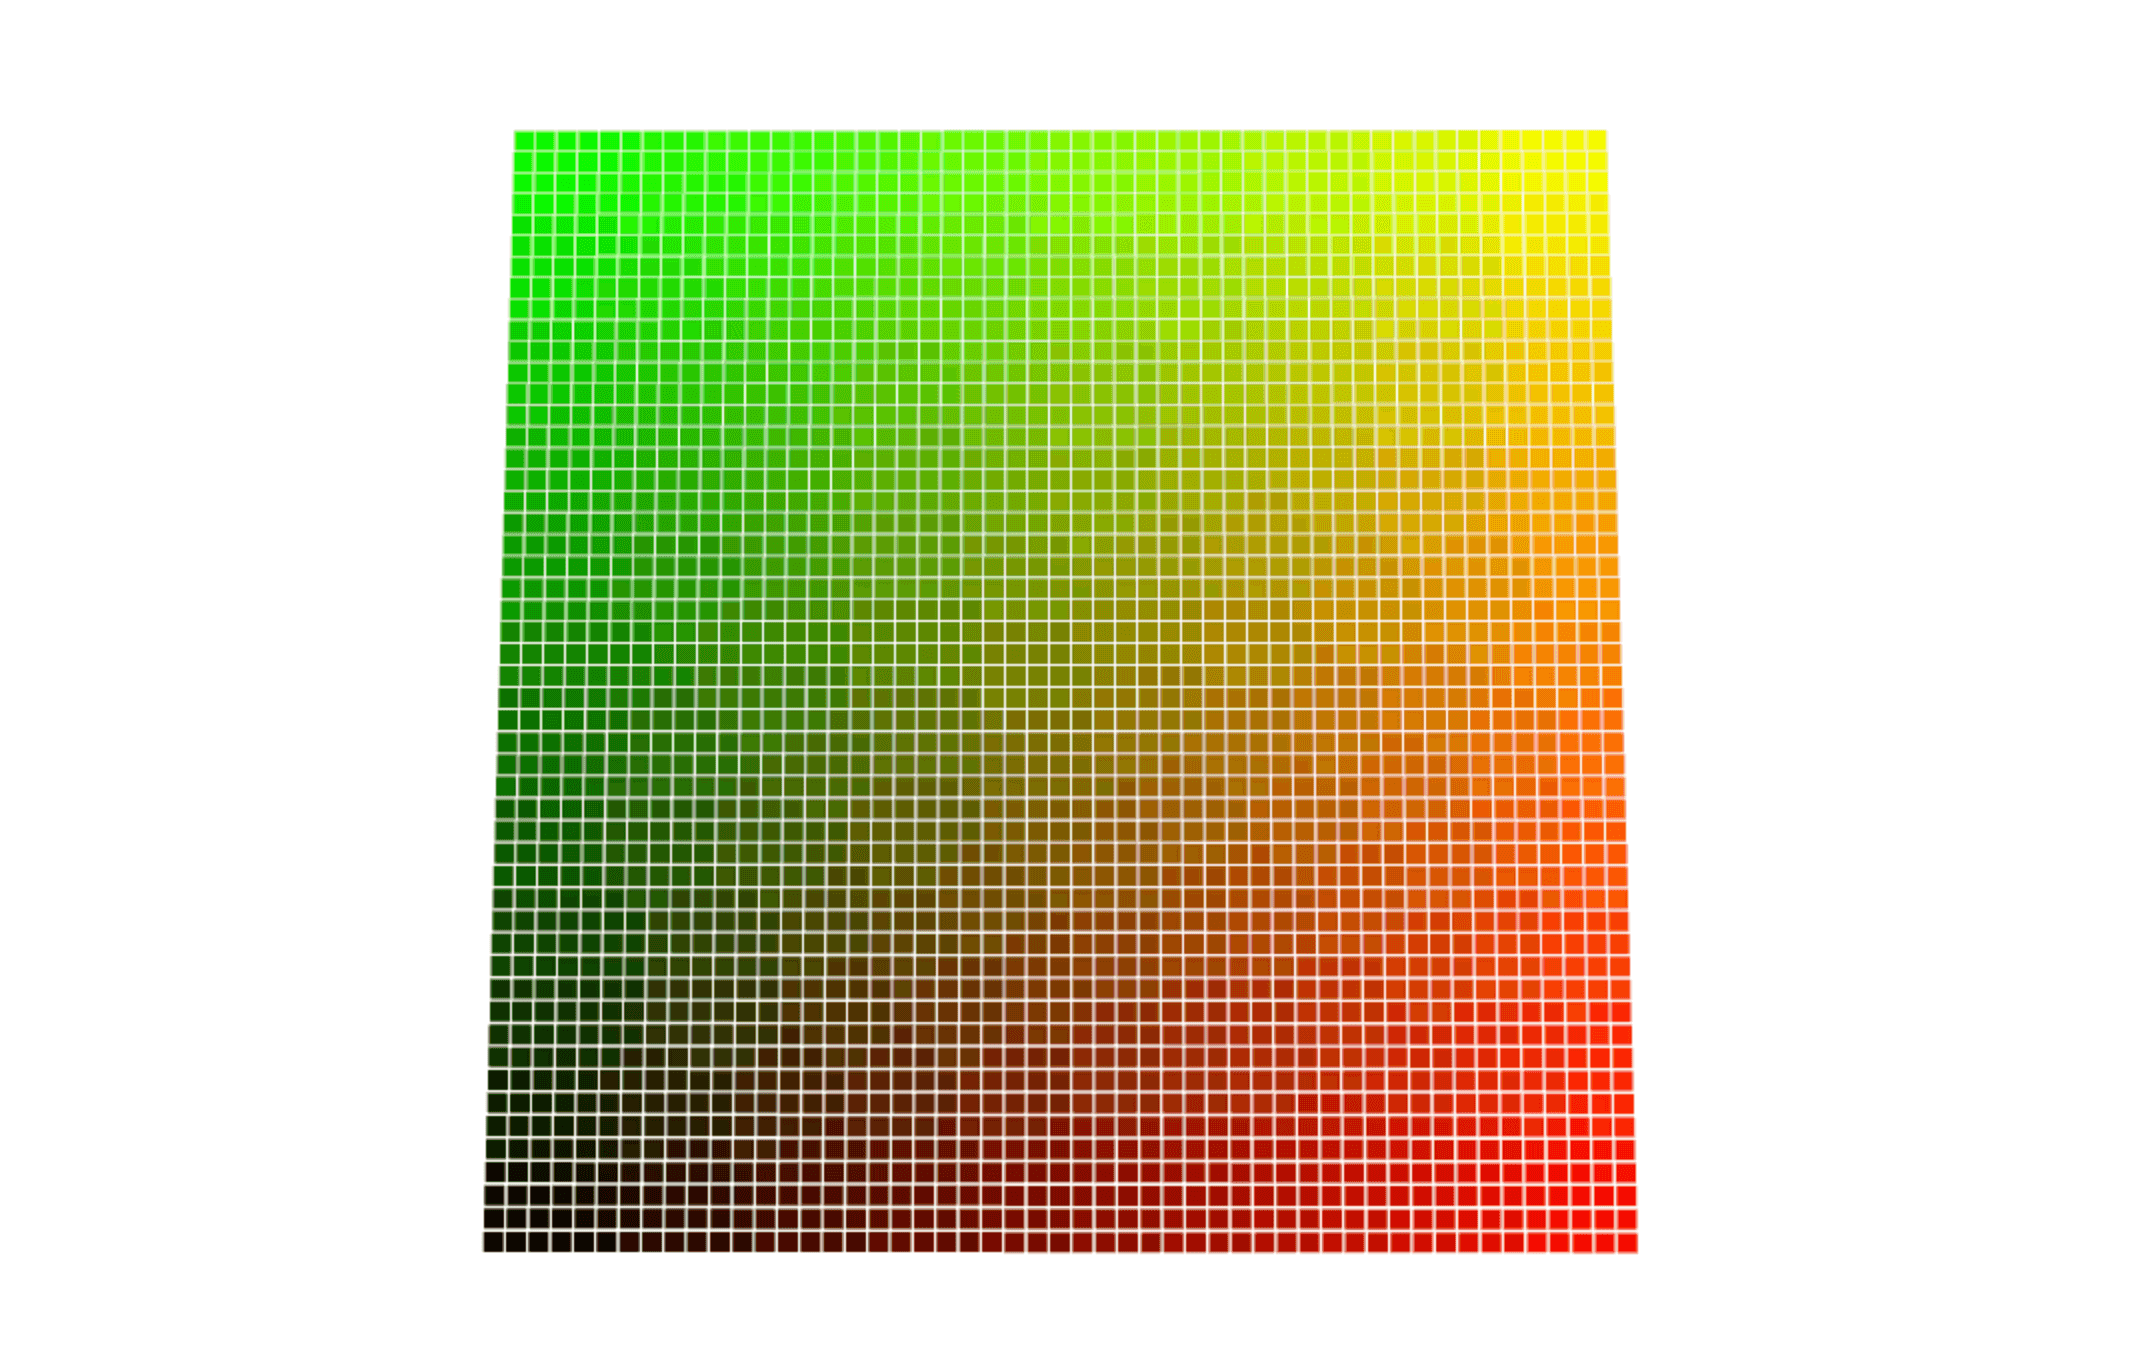
varying vec2 vUv;

void main() {

    vUv = uv;

    gl_PointSize =  10.0;

    gl_Position = projectionMatrix * mvPosition;

}
varying vec2 vUv;

void main() {
    gl_FragColor = vec4( vUv,0., 1.0 );
}
import vertexShader from './shaders/vertex.glsl';
import fragmentShader from './shaders/fragment.glsl';
addObjects(){
...
//創建shader material
this.material = new THREE.ShaderMaterial({
            vertexShader: vertexShader,
            fragmentShader: fragmentShader,
        })
       }
this.mesh = new THRE.Points(this.geometry, this.material);
this.scene.add(this.mesh)
//add object function
this.time = 0;
this.material = new THREE.ShaderMaterial({
            uniforms: {
                time: {value: this.time}
            },
            vertexShader: vertexShader,
            fragmentShader: fragmentShader,
        })
       }
this.time += 0.05;
this.material.uniforms.time.value = this.time;
varying vec2 vUv;
uniform float time;

void main() {

    vUv = uv;
    vec3 newpos = position;
    //這行是將時間參數傳進sin函數裡,目的是為了在不同時間點得到不同的高度
    newpos.z += sin( time + position.x*10. ) * 0.5;

    vec4 mvPosition = modelViewMatrix * vec4( newpos, 1.0 );

    gl_PointSize =  ( 10.0 / -mvPosition.z );

    gl_Position = projectionMatrix * mvPosition;

}
This note is the first step in building a GPGPU particle system with Three.js. Before writing shaders or simulation logic, the project needs a stable template.
It is for readers who want to understand the implementation, design tradeoffs, and learning context behind Three.js Particle Notes 01: Project Template Setup.