a recognition psychology experiment implement by using unity
What is Guilty Knowledge Test ?
The Guilty Knowledge Test (GKT), also known as the Concealed Information Test (CIT), is a psychological assessment technique used to determine whether a person has knowledge of crime-relevant information that only the perpetrator would know. Unlike traditional polygraph tests, which attempt to detect lies based on physiological responses to direct questions about the suspect's involvement in a crime, the GKT focuses on identifying the recognition of specific details of an event or activity by measuring physiological responses to multiple-choice questions, each containing one option that is relevant to the crime (the "probe") and several neutral, irrelevant options.
the following is the tutorial part to explain how to reproduce this experiment
About
This Experiment is an implementation of guilty knowledge test (GKT) . it utilize VR (virtual reality) and pupil lab (Eye Tracker) to let experimenter know where is subject looking at but without the subject's awrareness.
Because most of core function of this program is based on the Pupil capture service
you will need to open pupil capture and make sure you have already correctly connect HMD Add-on directly to computer.
View-Preview
Title
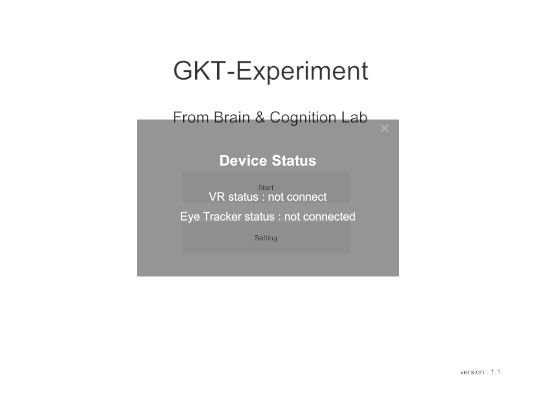
Checking Device
Before step into experiment, there something you need to prepare
In this section you will need to check if all the device has settele down.
Step1 : finished the HTC Vive environment setting
Step2 : open the pupil capture software to get connect with.
if you haven't finish the environment setting you can back to the 『Setting Environemtn』section
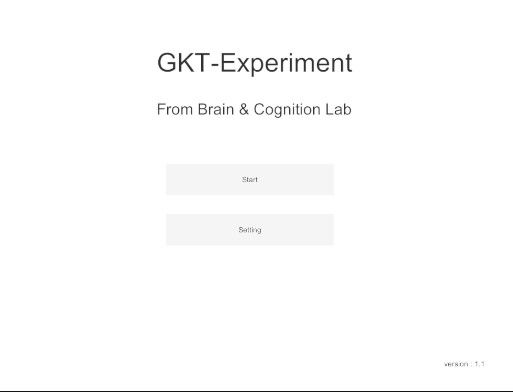
Main Menu
Setting
Use Custom Setting
In this page you can custom the experiment setting
including almost every detail . If you broke the setting and don't remember
the original version, don't worry there are four features you might want to use
save : save current setting to general setting
save as : save current as a new setting
boxcutter03a : bottom-right(3rd)
broom : bottom-left(4th)
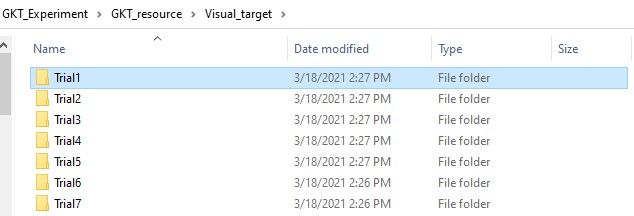
How to set custom visual target
first you need to know is the name is matter, each folder means each trial of experiment each image have a position in visual target
Folder name would affect order of experiment
Please Remember the folder name should start with "Trial" ,The computer only reconize the folder which name is start with "Trial" !!! these will determine the order of visual target set that subject see
Image is sort in alphabetical order
The image name is also important. Because the position of visual target that
subject see in the vr is depend on the order of image
take example :
the mapping positions of
Assets/StreamingAssets/Visual_target/Trial1
is like below
axe : top-left (1st)
bastinbrush : top-right (2nd)
boxcutter03a : bottom-right(3rd)
broom : bottom-left(4th)
Key point :
the order of folder : In alphabetical order.
the image name influence order and the order influence image position
Currently only support "png" format image
I'll develop more image format in the future plese look closely if there is any error in the Visual Target Preview it will not record if the image number is incorrect
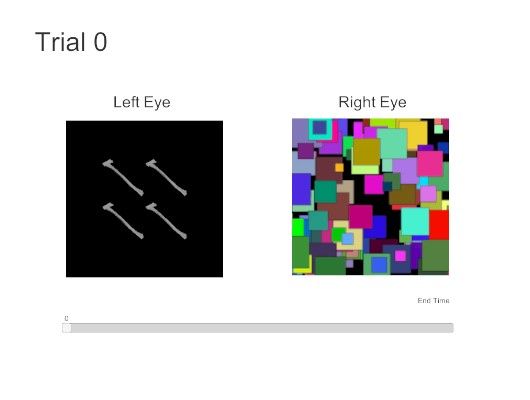
Experiment
page intro :
At this page you can check the time sapn with (time bar) and the view what the subject see also the eye frame visualizer.
Weak Eye and Strong Eye :
In this preview the left eye is weak eye and right eye is strong eye.
Weak Eye has four visual target and will automatically start fade in when FadeIn Stage start ,
Strong Eye has only one video which is mondrian video (produced by this project
have a look if you need some mondrian video sources)
the visual target image source can change by modifing the visual target path at setting page
the mondiran video source can also change by modifying the mondiran path at setting page
both can be found at StreammingAssets path
Experiment Stage :
PupilLab Calibration (only execute at very first time)
Data Optimize Calibration : this stage will collect the gaze data that subject gaze calibration point
Start Delay : the stage that before fadin stage
FadeIn
End Delay
Record Data Structure
as long as you click start experiment button , the system will automatically generate a experiment setting . feel free if you want to cutomize every setting for your subject
Devlopment
Program overview
the program can be split into three parts
GKT-Experiment : control the experiment process
GameManager : Control the UI Event and the interface between GKT-Experiment and GUI Page

 Please Remember the folder name should start with "Trial" ,The computer only reconize the folder which name is start with "Trial" !!! these will determine the order of visual target set that subject see
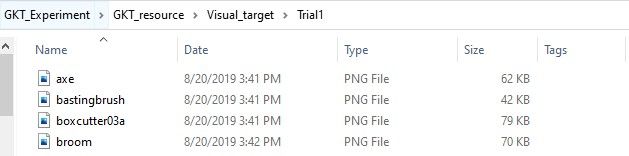 take example :
the mapping positions of
take example :
the mapping positions of
